*Each photo is 4500×3000


A Simple Guide to Creating Your Own
Items Needed
1.) Digital SLR
2.) Light source (mine was a string of holiday lights)
The Setup
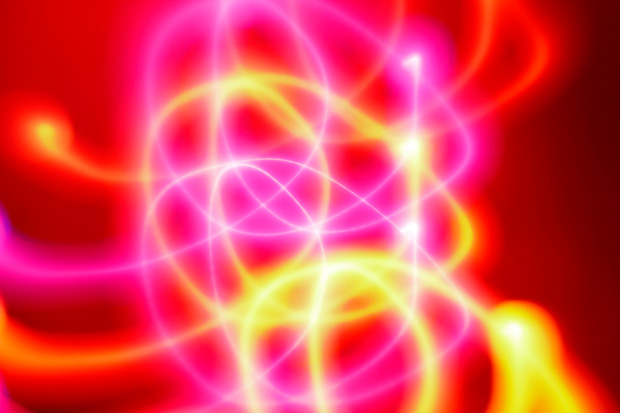
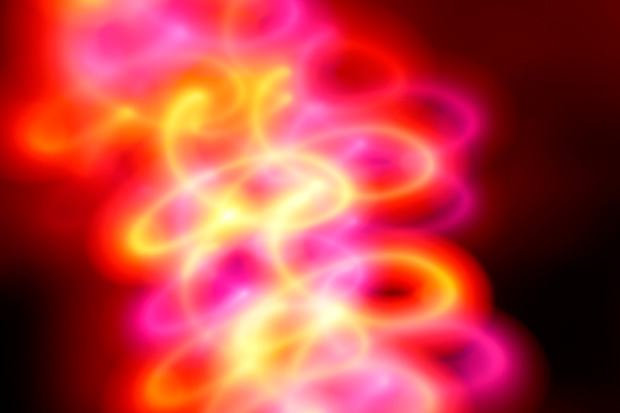
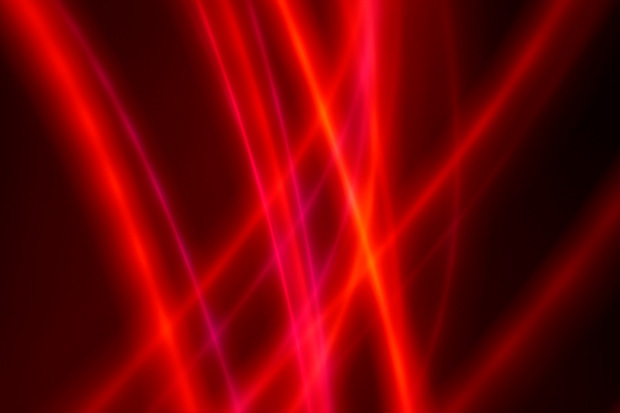
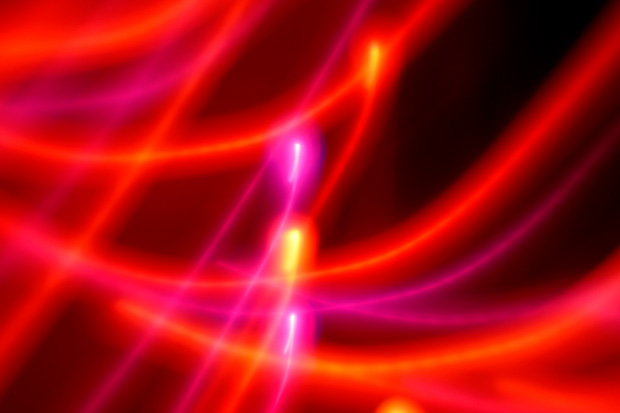
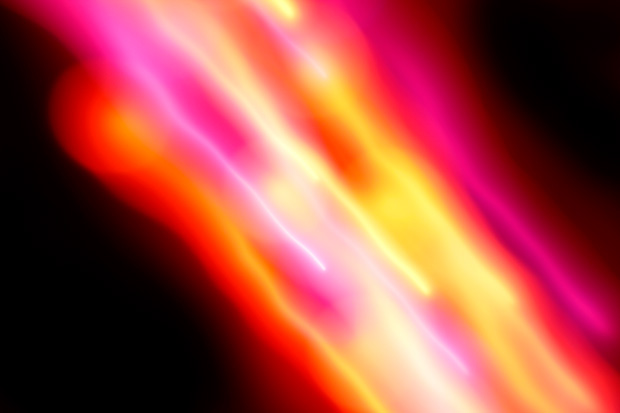
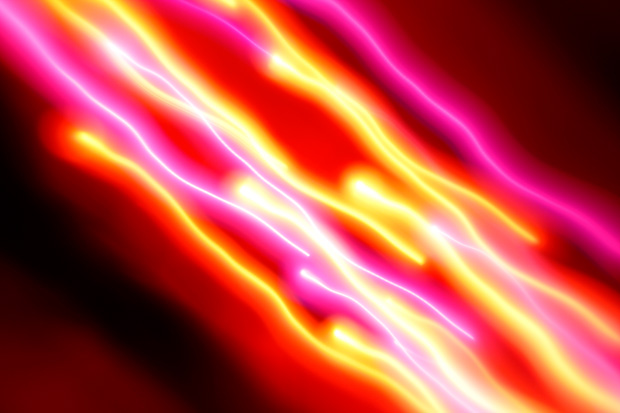
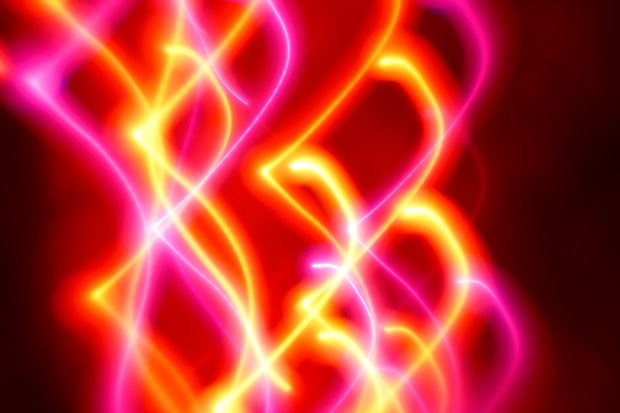
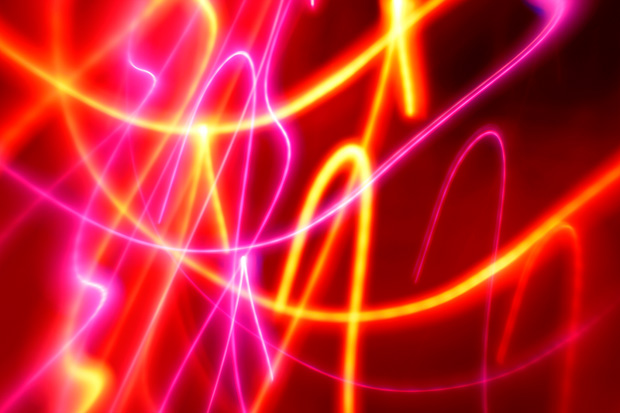
The setup needed to create these is very simple. I have a string of purple and orange holiday lights strung over a window. At night I turned off all other light sources so that the colored bulbs are isolated without any natural light coming from the windows or door.
Camera Settings
Shooting these is different than shooting bokeh photos. When shooting bokeh, you want to unfocus your lens as much as possible. For shooting light streaks, to create the more defined lines and strokes you want to first make sure you have the lights in focus, or at least close. A slightly unfocused lens allows you to create lines that are softer and broader. ISO, f-stop, and shutter speed will all slightly vary based on your lens and light source, but here are the settings I used:
Lens: Lensbaby Composer Pro
Focal Length: 50mm
F-Stop: 2.8
ISO: 100
Shutter Speed: 1-2 Seconds
The technique to create these couldn’t be much simpler. All you are doing is painting with your camera. Once you press the shutter button, simply move the camera around in different patterns and directions. The camera acts as the paint brush. Smooth sweeping strokes will create steady and smooth light streaks, while staggered and jerky motions will create more dynamic and energetic streaks. Since I used a string of lights, it was as if I were painting with over a dozen brush tips, instead of just one. Tweak your exposure settings and vary your motion patterns as you go along to refine your photos. Each lens and light source are different, so small adjustments will need to be made to create your own desirable results.
The low ISO and long shutter speed are the essential elements. The long shutter speed keeps your shutter open long enough to create a design. The low ISO just keeps the camera’s light sensitivity low enough to keep your entire photo from being blown out and just a mess of light.
It’s a very quick and simple process that you can do in your own home. You can get lots of different results depending on the color, style, and intensity of the light source that you’re using. Here are a few others that I made using one single light. This was simply the small green dot of light that is on the front of my cable box. See how easy it can be? These will be included the downloadable set as well:
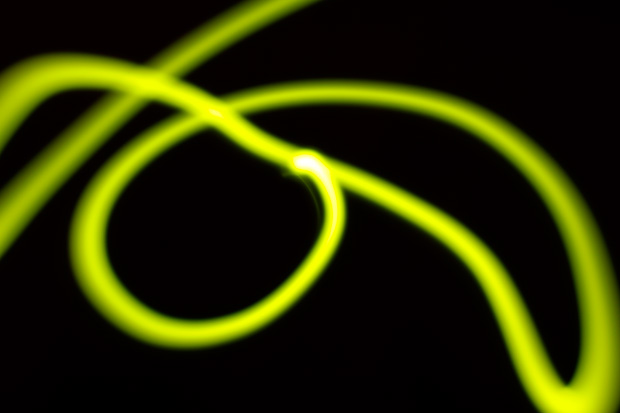
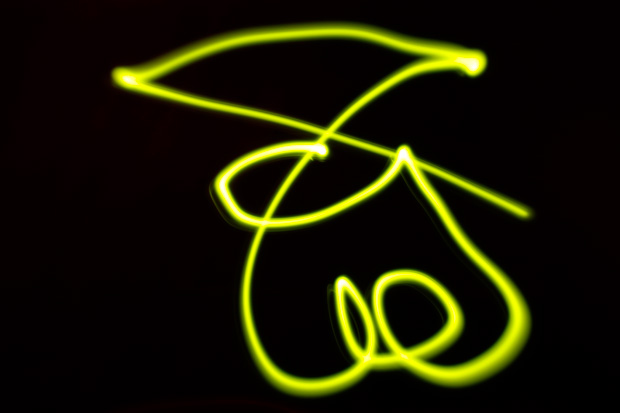

You can see the difference between having a string of lights and one single light. The single light is more akin to a graffiti artist with a can of spraypaint.
That’s it! Go have fun!